The accident.
creek, creeeeek, crackle… CRACK!
We were sleeping on our bed when this suddenly happened. Rude awakening in the middle of the night.
But it was just the beginning of a beautiful story…
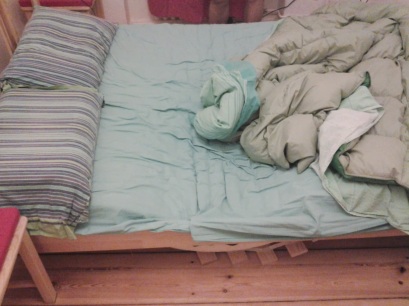
The guilty’s name is Fjellse. An Ikea bed sold for 39€. I strongly believe that beds under 100€ price should be forbidden. Since I have been living in Berlin I felt persecuted by this cheap bed and its worthy partner, the dreadful Sultan Florvåg mattress! Landlords really love this couple. I don’t: it’s narrow, soft, unstable.
By the way, we went to Ikea and brought home (by tram) an identical one (I know it sounds stupid, but there are some reasons for that).
At that point I had one and a half Ikea bed. The first thing I did was using some of the parts of the old bed to strengthen the weak parts of the new one. I doubled the feet and added two wooden boards in the middle of the structure in order to increase the rigidity. But now I have many parts left!
Mmmmh free wood!
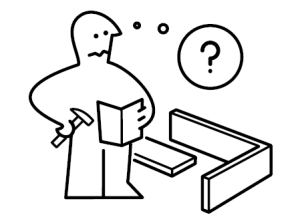
This was actually the first project I have done here. I think you can’t be a Vitomakes without a proper workbench.

Anatomy of the patient
I need a workbench!
I analyzed the situation and checked how I could optimize and use the most parts I had.
- I had 15 healthy slats coming from the broken bed. If you put 13 of them one next to the other you have a decent desk 70 cm x 97,5 cm big.
- The remaining two will be used as legs, they are 70 cm tall, which is a pretty common measure for a table. I fixed them onto other wood boards which I cut with a hacksaw. Self-threading screws party on the other side! (always make a little hole with the drill before using the screw when working with soft wood) I used 2 long screws for each slab. The main issue here was to put everything in 90° corners. I trusted the tiles and the wall of my kitchen, and I used those and the wooden boards themselves as set-squares. It was tricky, but it worked!

Then I took the two long legs of the bed, and cut them 70cm. I cut the wide boards that from the “head” of the bed and tied them around with a self-threading screw party -2!

Add some extra screws, some 90° metal brackets here and there… et voilá!:

Does it differ a lot from the plan?

It’s not a super-robust workbench, it’s stable but the wood is very soft. But at least now I can shamelessly beat, burn, cut, solder! And now it’s my stable partner for this Vitomakes adventure, and you can see it in the background of almost any of my projects ❤
PS, in case my dear landlady reads this: everything is fine, you have a new, stronger bed!
